


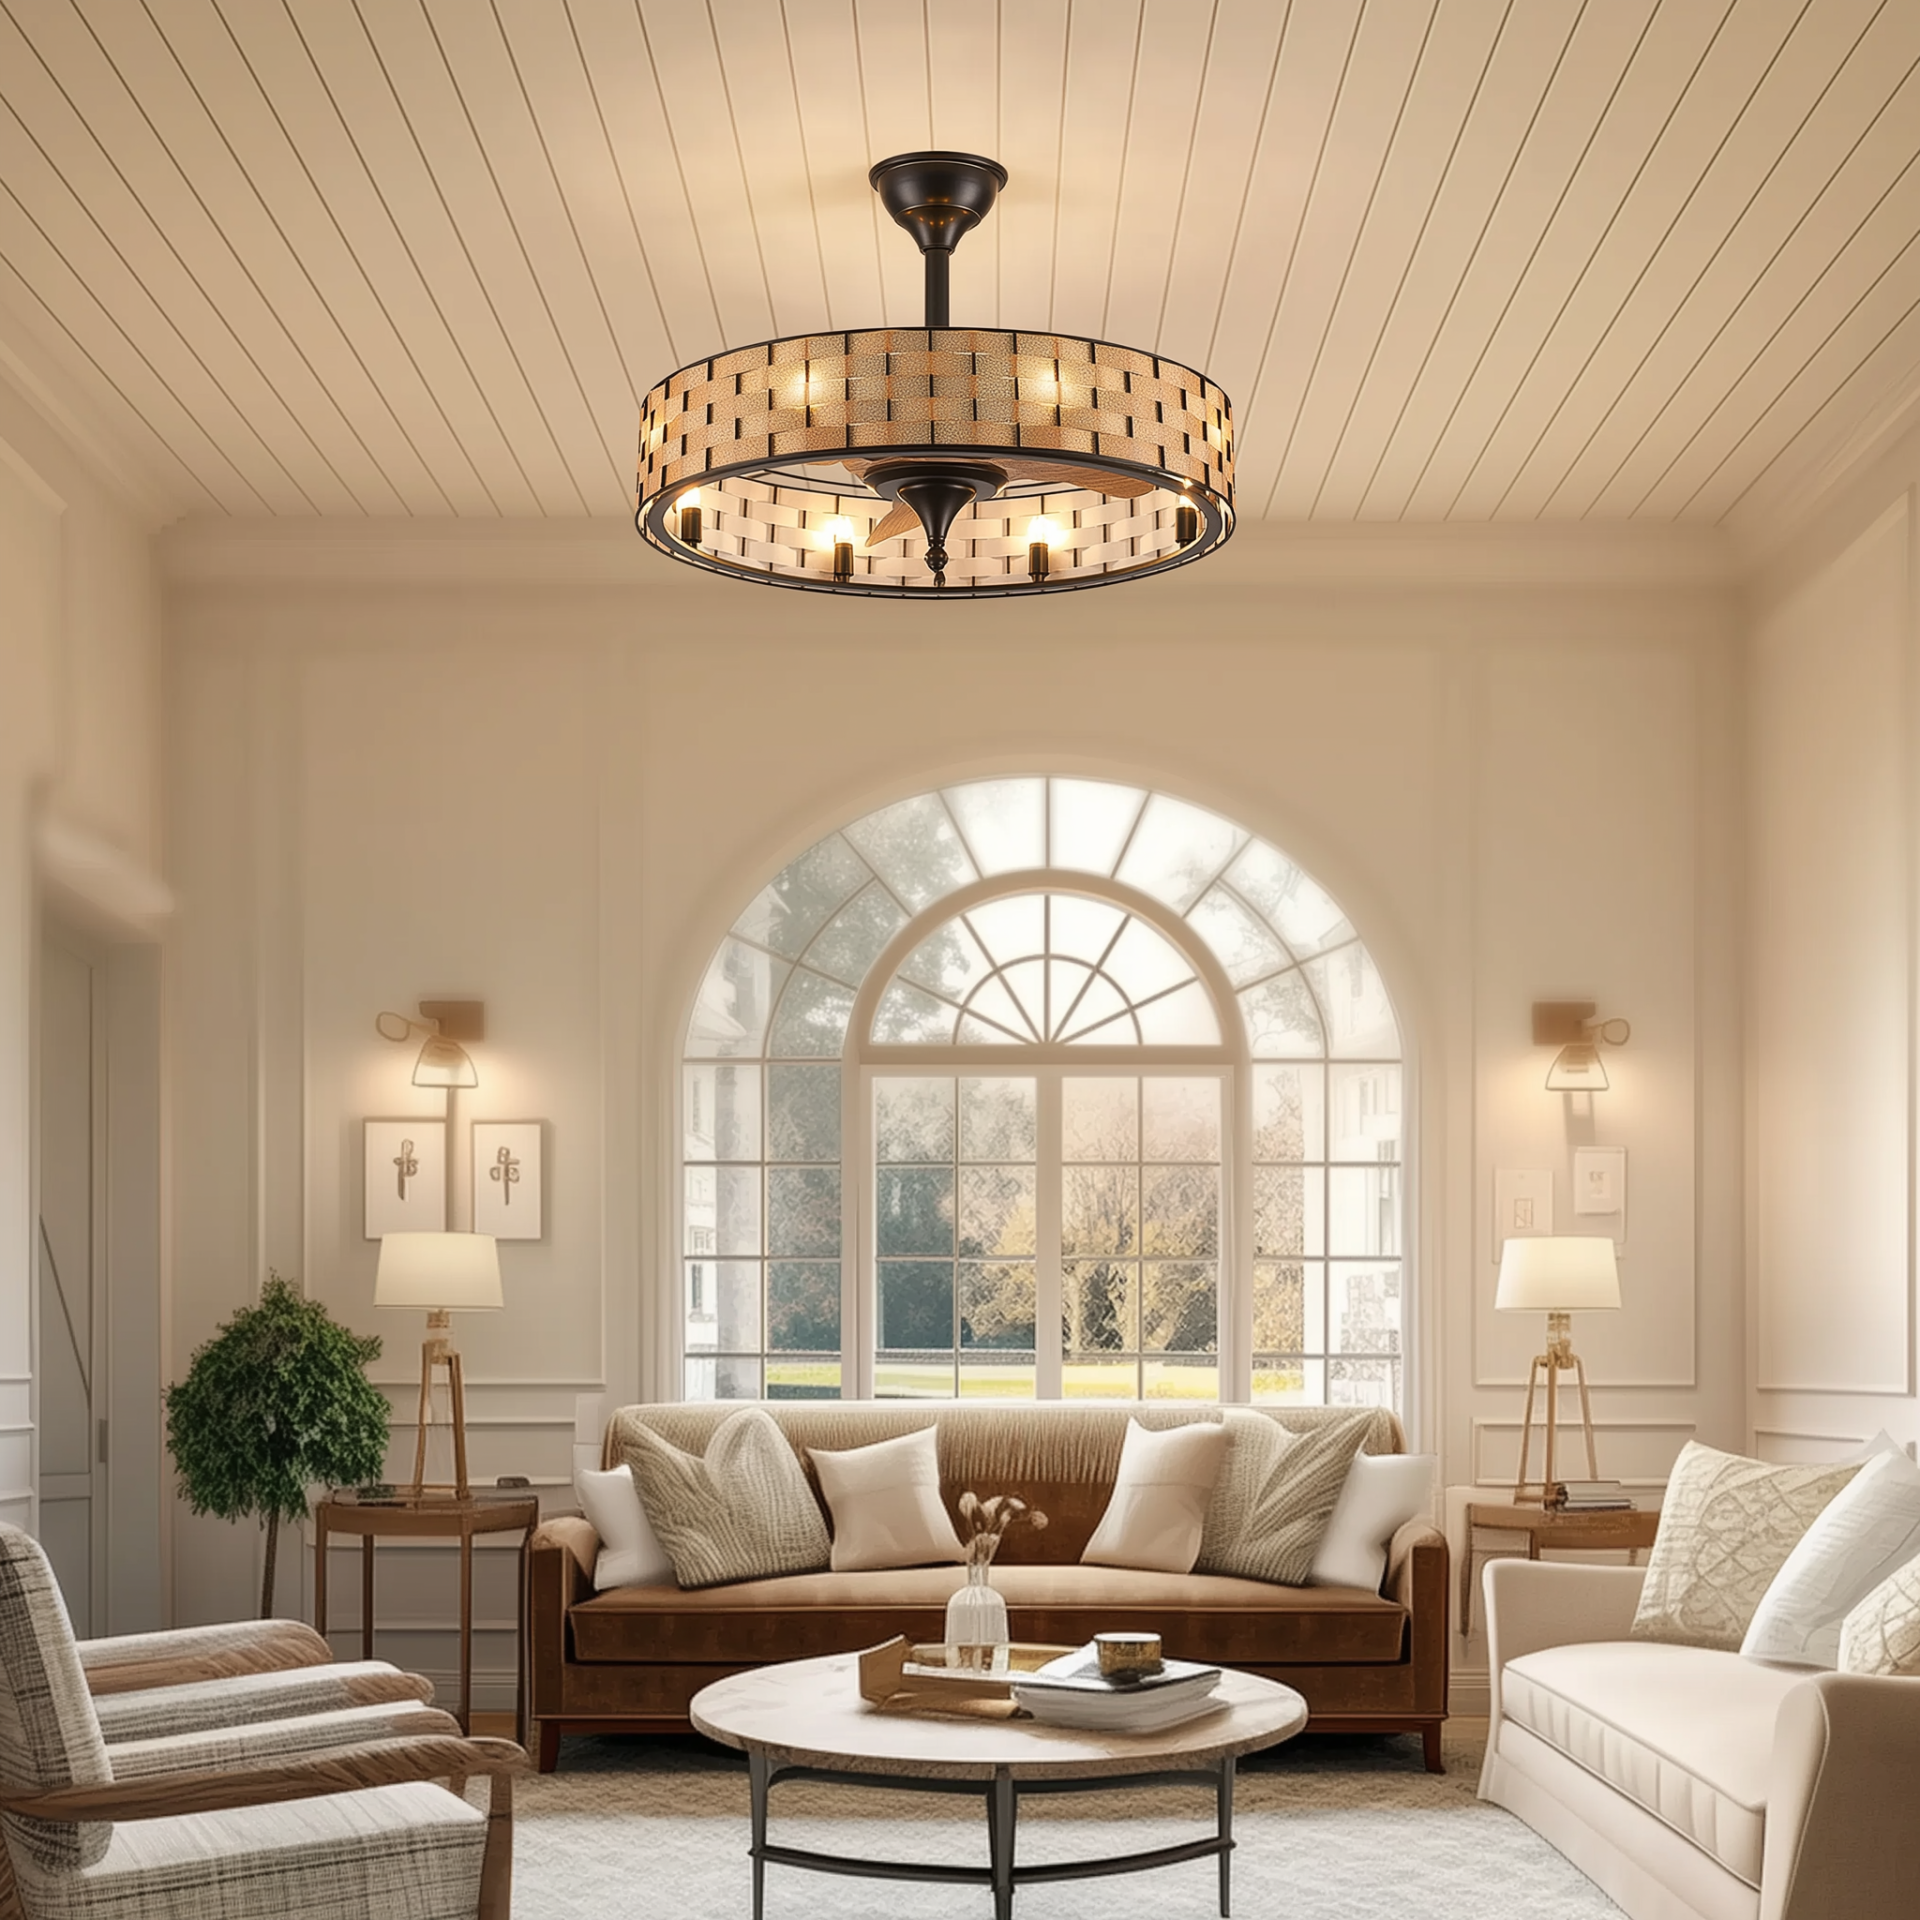
A user-first opening: why this matters to you
If you’re sittin’ on a porch in the Texas Hill Country or chillin’ in an old bungalow, that farmhouse ceiling fan with light up above can be both charm and chore when you try to shoehorn it into a smart home. This ain’t about tech for tech’s sake — it’s about making daily life simpler: one-touch scenes, schedules that save cash, and no more fumblin’ for a pull chain at midnight. I’ll walk you through choices that keep your vintage look while giving you modern automation control, all from a user-first perspective that understands y’all value reliability over gimmicks.

What to check before you touch a wire
Start with the basics: identify whether the fan has separate conductors for motor and light, confirm you’ve got a neutral in the box, and note whether the fan uses an RF remote receiver inside the canopy. Those details dictate your path — Wi‑Fi bulbs won’t help a fan motor, and a triac dimmer meant for incandescent lights will fry a motor if wired wrong. Common industry terms you’ll see here include Zigbee, Z‑Wave, relay, and triac dimmer — keep ’em in mind as you shop.
Choose your strategy: keep the look, add the brains
There are three user-friendly strategies that usually make sense:
- Smart bulbs for the light only — easiest, lowest cost, but leaves fan speed manual.
- In-wall or canopy smart fan controllers — replaces switches or the receiver so both light and motor are controllable; best for vintage fixtures where you want wall control and scenes.
- Full hub integration with a smart relay or module — lets you tie fan actions into home automation scenes using a Zigbee or Z‑Wave hub, useful if you already use a smart hub or want voice control.
Pick the strategy that matches how you live — if you mostly want schedules and voice control, a hub-based relay or module will pay off. If you just need the lamp smart, smart bulbs are a fine, low-risk choice.
Step-by-step: retrofit without wreckin’ the fan
Here’s a simple workflow most homeowners and installers follow:
- Power down at the breaker and confirm with a meter.
- Open the canopy and document wire colors and any remote receiver. Photograph everything — don’t trust memory.
- Decide on the device: in-wall fan controller, canopy module, or Wi‑Fi bulb. Make sure it supports motor loads and the correct AC phase type.
- Wire according to the controller’s diagram: motor lead to the fan output, light lead to the light output, neutral as required. Use proper wire nuts and strain relief.
- Restore power and pair the device with your hub (Zigbee/Z‑Wave) or app. Set motor-speed limits if available to prevent overspinning — many smart modules allow PWM or relay control but some require scene automation to simulate multiple speeds.
And remember to test before you button up the canopy — you’ll thank me later when the fan responds on the first try. —
Common mistakes folks make (and how to dodge ’em)
People often mix up a few things that lead to headaches:
- Putting a light-only triac dimmer on a fan motor — don’t do it. Motors require controllers rated for inductive loads or purpose-built fan modules.
- Assuming there’s a neutral at the switch — many older homes don’t have one; a canopy module might be the only retrofit option.
- Not accounting for a receiver hidden in the fan canopy — that extra electronics layer can conflict with smart modules unless removed or replaced.
- Skipping a first-article pairing test — pair before you reinstall the canopy so you won’t be crawlin’ around in the ceiling later.
Which devices fit which household
Quick matchmaking based on common user types:
- Casual DIYer: smart bulbs + voice assistant — low friction, minimal wiring.
- Home automation enthusiast: Zigbee/Z‑Wave relay or module + smart hub — full scenes, energy monitoring, and multi-device automations.
- Renovator with vintage aesthetic: canopy retrofit modules that keep the original switches and finish — preserves look while adding function.
If your home’s style leans toward rustic, you might also shop for unique rustic ceiling fans with lights that come pre-wired for smart modules — saves time and keeps that farmhouse charm intact.
Real-world anchor: energy sense and summer sanity
The U.S. Department of Energy notes that ceiling fans let you raise your thermostat about 4°F without discomfort — that’s real savings during sweltering summers in places like Austin or San Antonio. Tying your fan into schedules and temperature scenes keeps the house comfortable while trimmin’ AC runtime. As someone who’s helped wire fans in several Central Texas homes, I can tell y’all it’s the little automations — scheduled off at sunrise, boost on during evening gatherings — that make the biggest difference.

Quick checklist before you finish
Make sure you’ve done these final three things:
- Verified device ratings for motor (inductive) loads and light circuits.
- Documented wiring photos and paired devices prior to closing the canopy.
- Tested automations: schedules, voice commands, and manual overrides all work as expected.
Three golden rules for selecting the right solution
1) Compatibility first: confirm neutral presence, motor vs. light wiring, and hub protocol (Zigbee/Z‑Wave/Wi‑Fi) before you buy. 2) Safety and certification: choose controllers with UL/ETL listings and clear motor-load specs — that protects your home and your warranty. 3) Future-proofing: prioritize devices with firmware updates and an open hub ecosystem (IFTTT or local scene support) so your setup doesn’t become obsolete.
Orison fits naturally when you want a balance of design-minded fixtures and smart compatibility — they get the rustic look and the tech behind it. —
